A R T with M R. F A I R C H I L D


Visual Arts 2025-2026


Lessons:
Welcome to our ceramic art unit, where you’ll get to explore working with clay!
Throughout this unit, you’ll learn different techniques like pinching, coiling, and slab building to create your own unique pottery and sculptures. You’ll start by sketchbook-ing and drafting your designs, then will learn how to shape clay with your hands and simple tools to bring your ideas to life. Finally, using the kiln, we will fire and harden your creations, turning them into finished pieces of art.
This unit is all about creativity, experimenting with new ideas, and having fun while making something cool with your own hands!
CLAY RULES:
1.) Clay should be the thickness of a pinky finger, no less, no more.
2.) Large objects should be HOLLOW. Air pockets cause the piece to shatter.
3.) Clay should be fully dry before firing!

FORMS OF CERAMICS
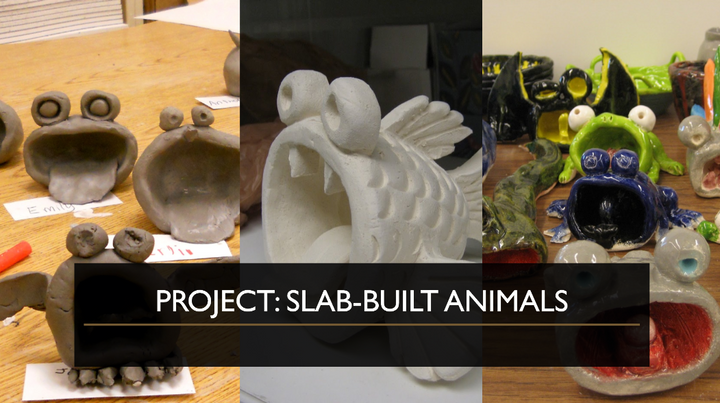
COILS PINCH-POTS SLAB-BUILT

STAGES OF CERAMICS
Workable Stage – The best time for shaping the clay
Leather Hard Stage – Clay is slightly moveable but will crack. This is where you add details!
Bone Dry Stage – Clay is no longer workable and is ready to fire.


Bisqueware: Clay was fired at roughly 2000 degrees, undergoing a chemical change to make it firm, but still porous enough to absorb glaze.
Glaze: Glazing is the final step, in which bisqueware is covered in a paint-like glaze, that melts into the pottery, forming a glossy, glass-like finish.

ASSIGNMENTS
Ceramics